|
1
|
|
|
2
|
|
|
3
|
|
|
4
|
|
|
5
|
|
|
6
|
|
|
7
|
|
|
8
|
- Describing famous people and having the other class guessing who is was
- Giving eye-witness statements (working in pairs)
- We always gave positive support about the
- students’ performance by posting feedback onto
- the blog
|
|
9
|
|
|
10
|
|
|
11
|
|
|
12
|
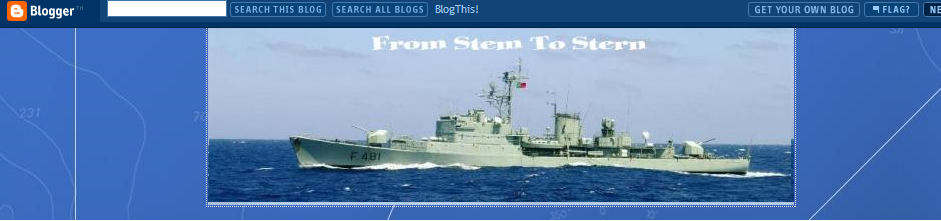
- Visit us at
- http://fromstemtostern.blogspot.com
|
|
13
|
|
|
14
|
- Not at all. It is quite teacher friendly.
- With Blogger it is as easy as 1, 2, 3.
|
|
15
|
- Go to www.blogger.com .
- Click on the orange arrow to create an account.
|
|
16
|
- Choose a user name (This is not the name of your blog. It is only a name
to log into your account with blogger).
- Choose a password.
- Choose a display name (This is the name you sign your posts with).
- Insert your e-mail address.
- Indicate that you have read and understand Blogger's Terms of Service.
- Click on the orange arrow to continue.
|
|
17
|
- Provide a title (Don’t worry, this can be changed at anytime).
- Usually your title is part of your blog address. However, this is
getting harder to do because so many people are blogging. Just be
imaginative and try to create a blog address that will be easy for your
students to remember.
- Insert word verification (this is a security measure).
- Hit the orange button to go to the final step.
|
|
18
|
- Hit to create
the blog.
- (remember: you can always change the template at a later date)
|
|
19
|
- Once the blog has been created just start posting
|
|
20
|
|
|
21
|
|